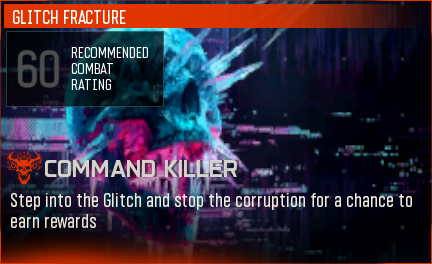
Command Killer
The Command Killer is the Act 3 Glitch Fracture, unlocked by completing Operation Wall Breaker. It was introduced in Season 4 (June 4, 2026) and is the final chapter of the JSOC vs. Guild storyline. The final boss is the Zursa, a large bear enemy.
Prerequisites
Section titled “Prerequisites”- Complete all 9 steps of Operation Wall Breaker
- Complete a Possessed Convoy activity to trigger the Zursa spawn
- Defeat the Zursa Guild Strike boss to reveal the Command Killer Fracture on the Tac Map
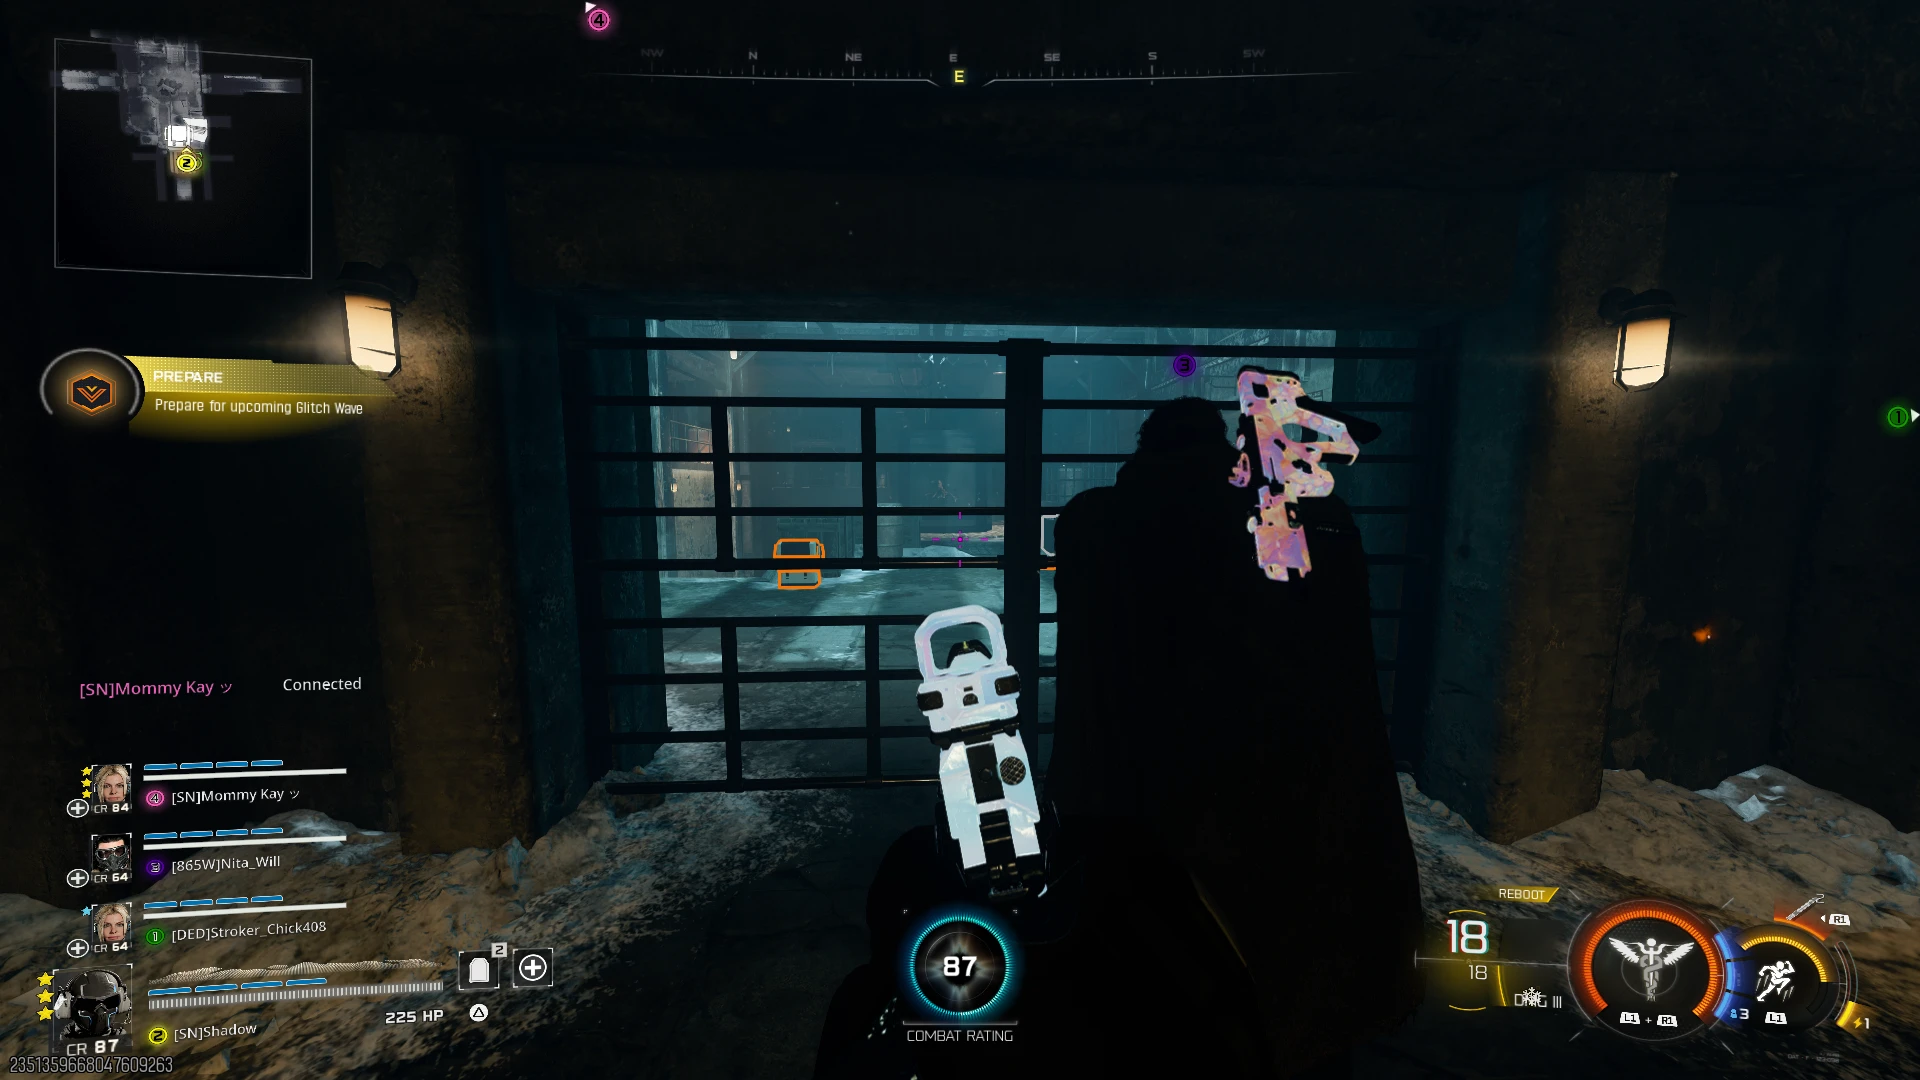
Structure
Section titled “Structure”The Command Killer consists of 3 sectors, each containing 2 waves. After clearing both waves in a sector, a “Glitch Sector Complete” message appears and you move to the next sector. The environments change between sectors: underground, snowy outdoor, and forest/bunker.
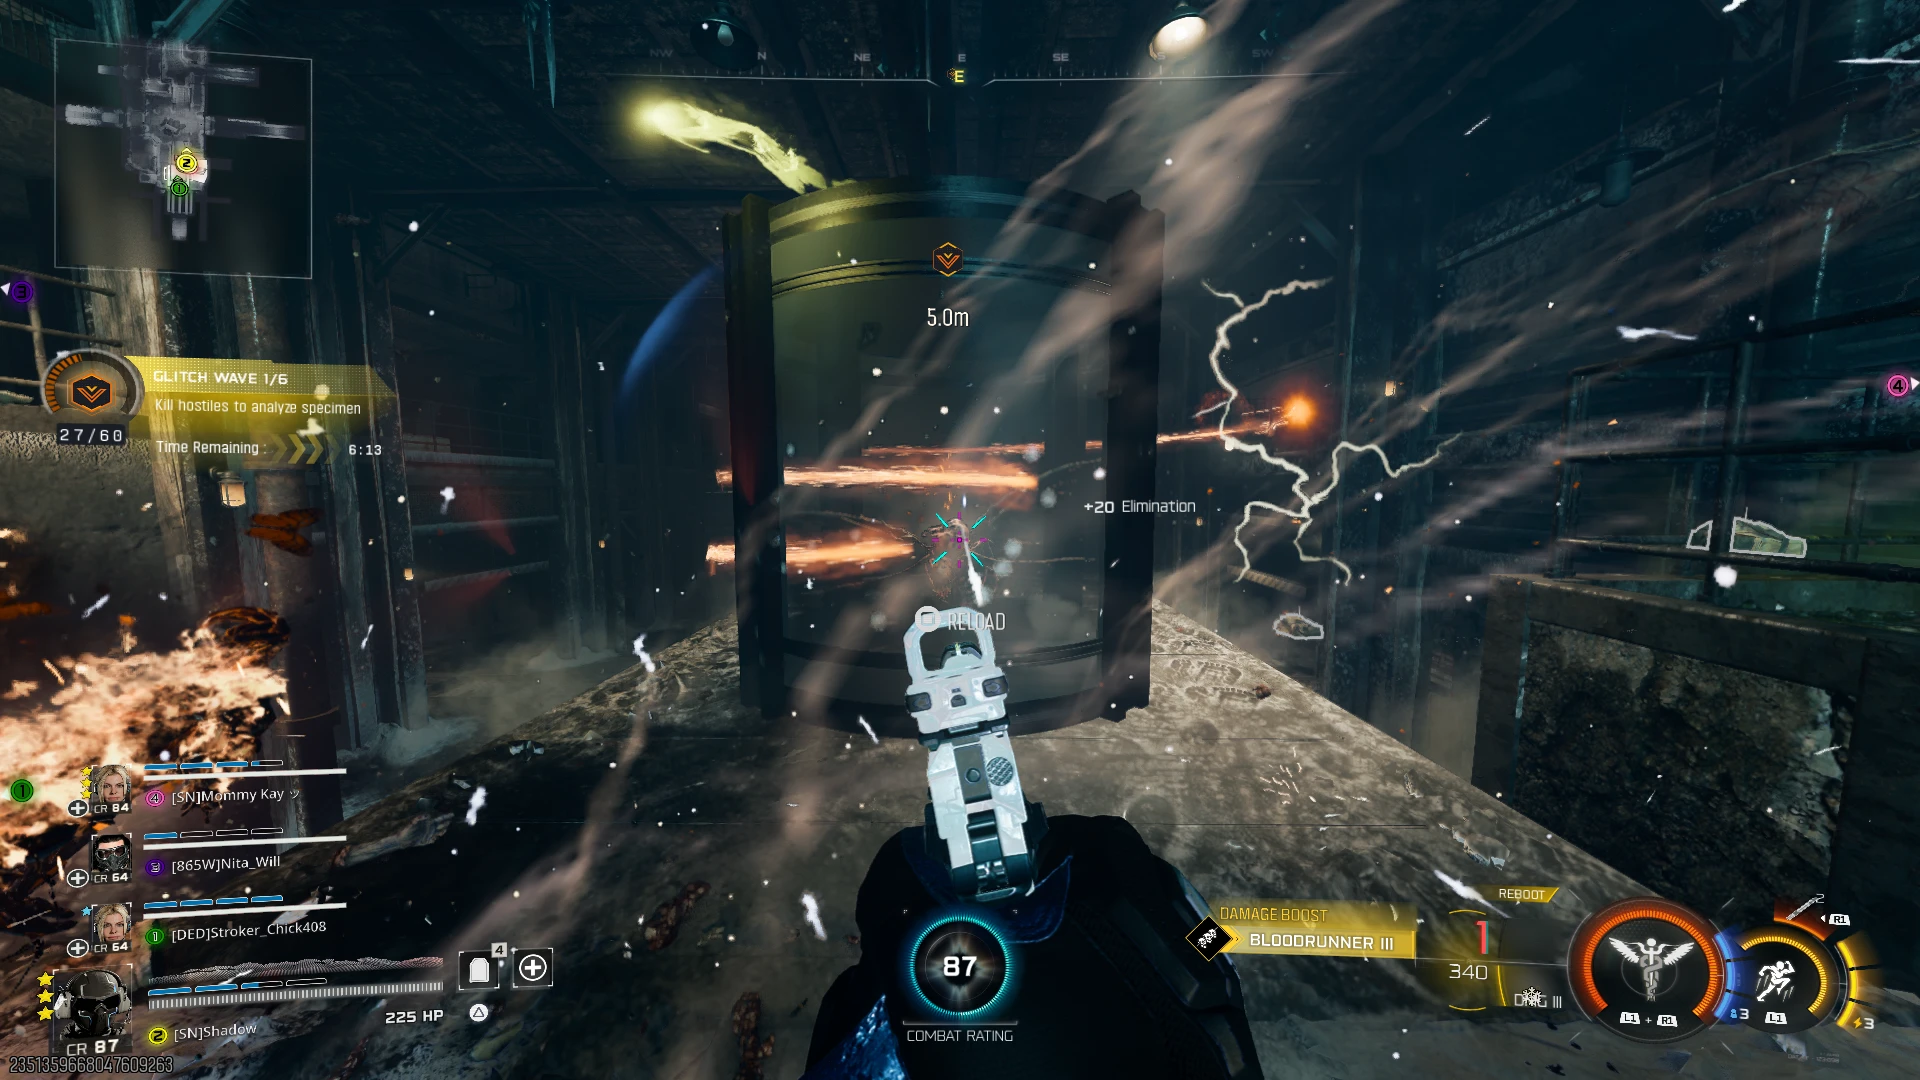
Wave 1: Tube Defense (Underground)
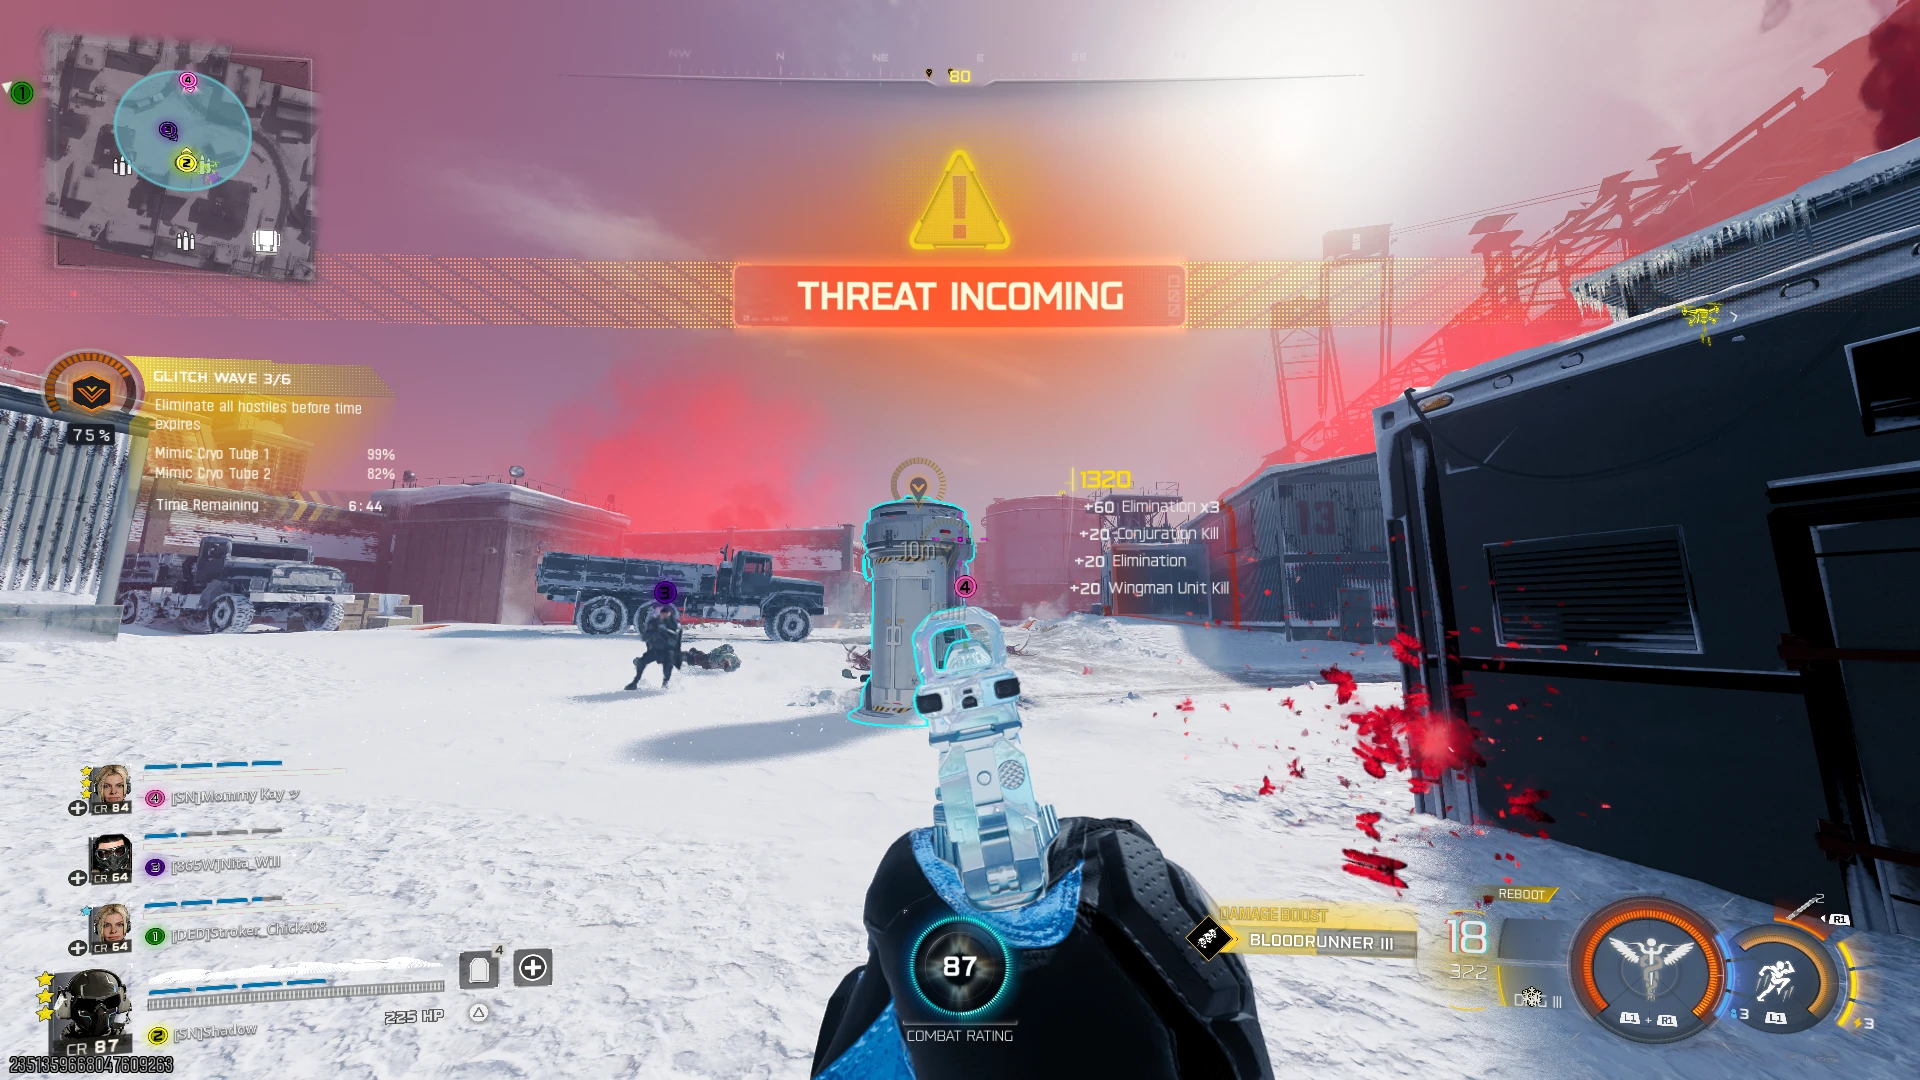
Section titled “Wave 1: Tube Defense (Underground)”The first wave takes place in a dark underground arena. Defend the central tube from waves of enemies. Fear-class zombies, spider enemies, and Guild soldiers attack from all directions. A “Threat Incoming” warning signals each enemy wave, followed by “Threat Cleared” when the wave is done.
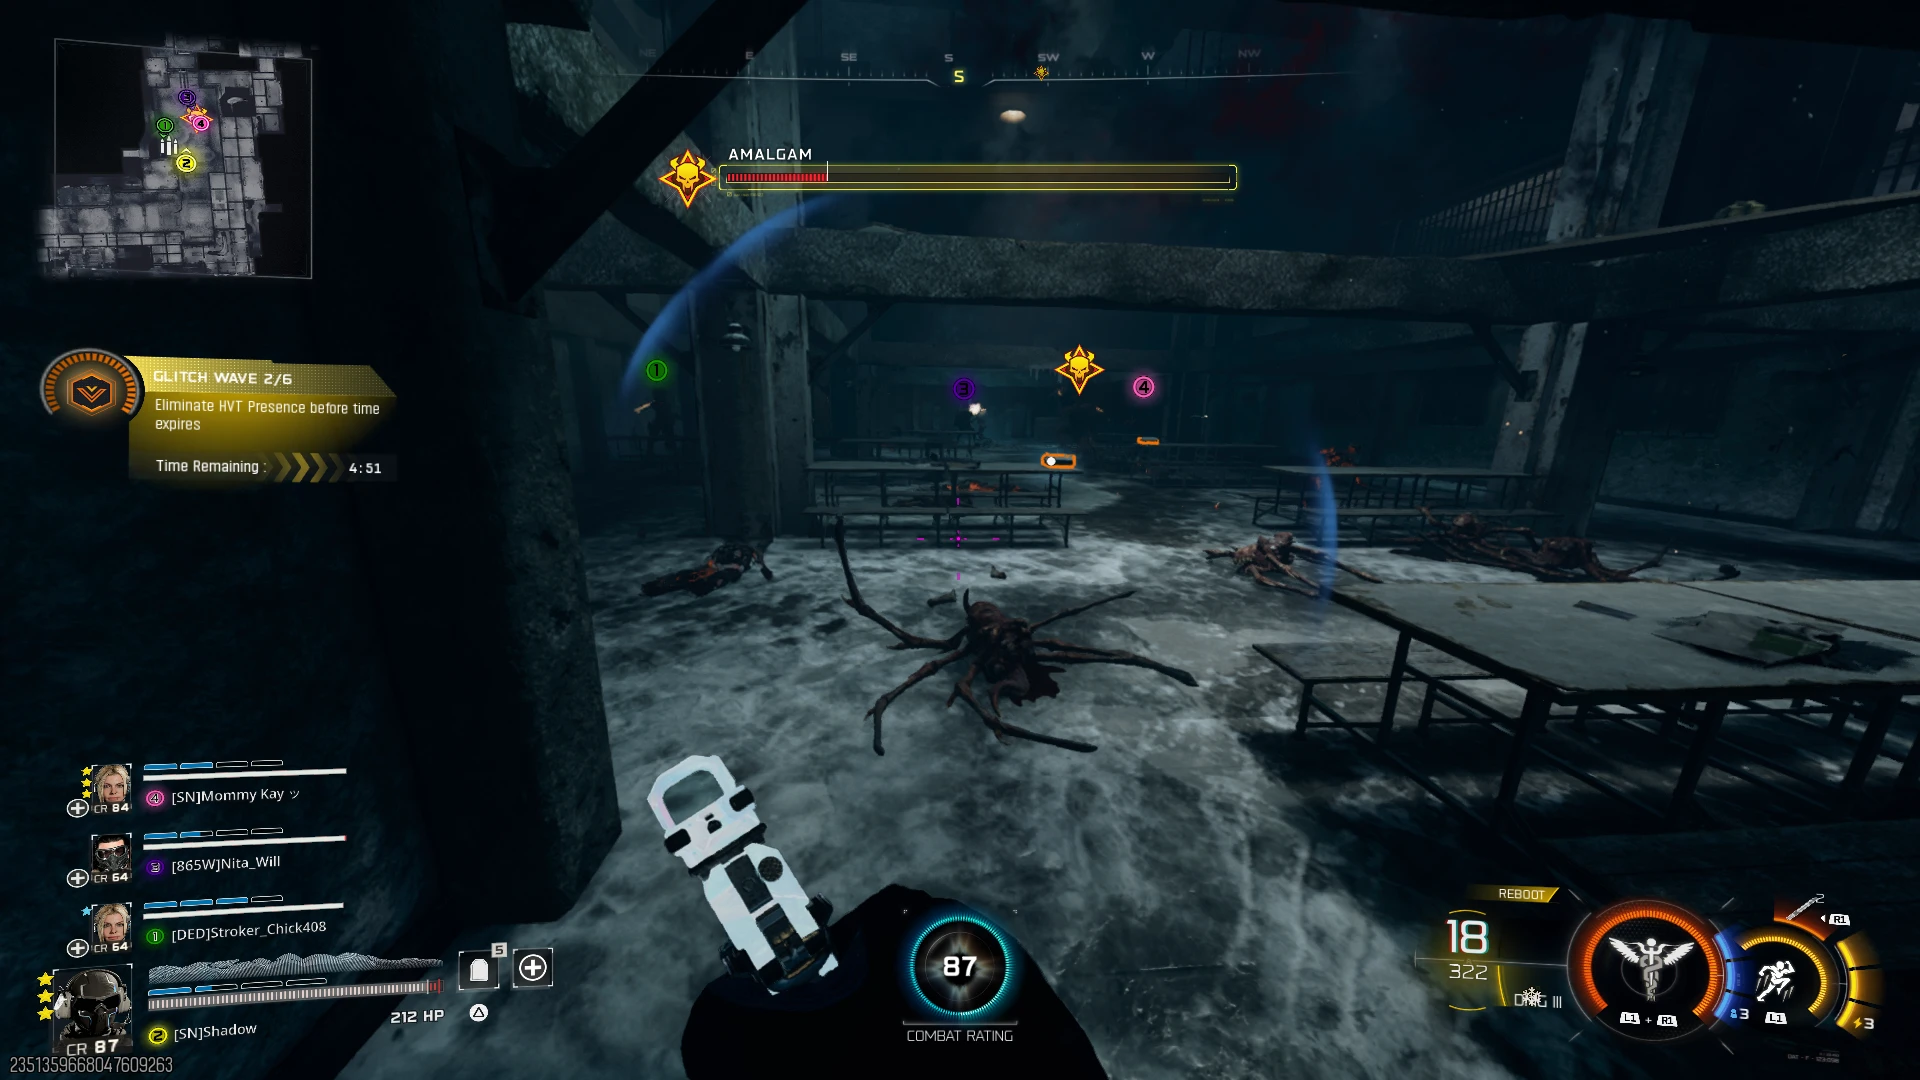
Wave 2: Amalgam Elite (Underground)
Section titled “Wave 2: Amalgam Elite (Underground)”An Amalgam elite enemy spawns with a visible health bar. The objective changes to “Eliminate HVT Presence.” Focus fire on the Amalgam while managing the surrounding enemies. Once the Amalgam is eliminated, the first sector is complete.
Wave 3: Zone Defense (Snow)
Section titled “Wave 3: Zone Defense (Snow)”The second sector is a snowy outdoor environment. Defend tubes while enemies attack under a red sky. Drones and ground enemies both appear in this wave.
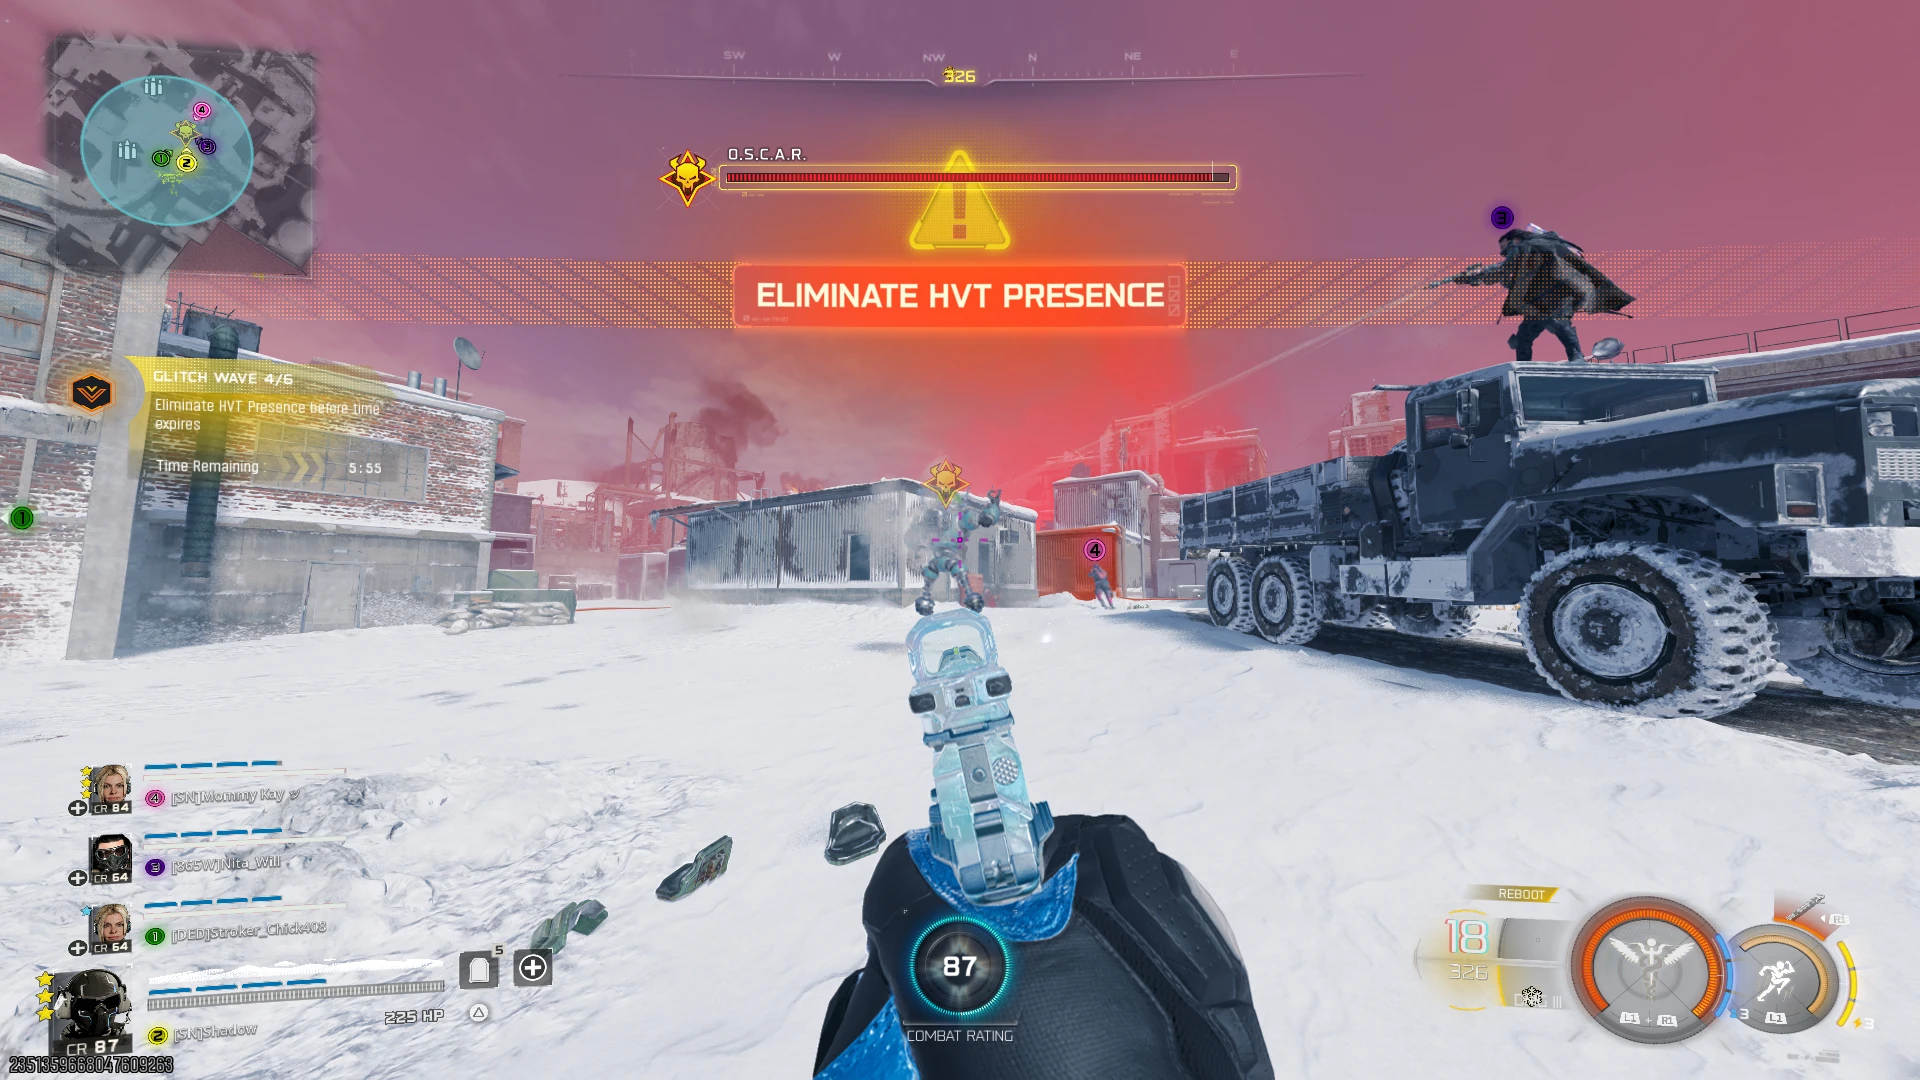
Wave 4: O.S.C.A.R. Variant (Snow)
Section titled “Wave 4: O.S.C.A.R. Variant (Snow)”A modified O.S.C.A.R. robot appears as the HVT for the second sector. It has a visible health bar and is tougher than the Amalgam from Wave 2. Focus burst damage to take it down quickly before the timer runs out.
Wave 5: Multi-Zone Capture (Forest and Bunker)
Section titled “Wave 5: Multi-Zone Capture (Forest and Bunker)”The third sector spans a forest with cabins, a river, and an underground bunker. This wave requires capturing multiple zones in sequence. After securing one zone, a “Select Zone” prompt appears to move to the next.
The final zone is inside a bunker with a capture console that must be interacted with. Once all zones are secured, the wave is complete.

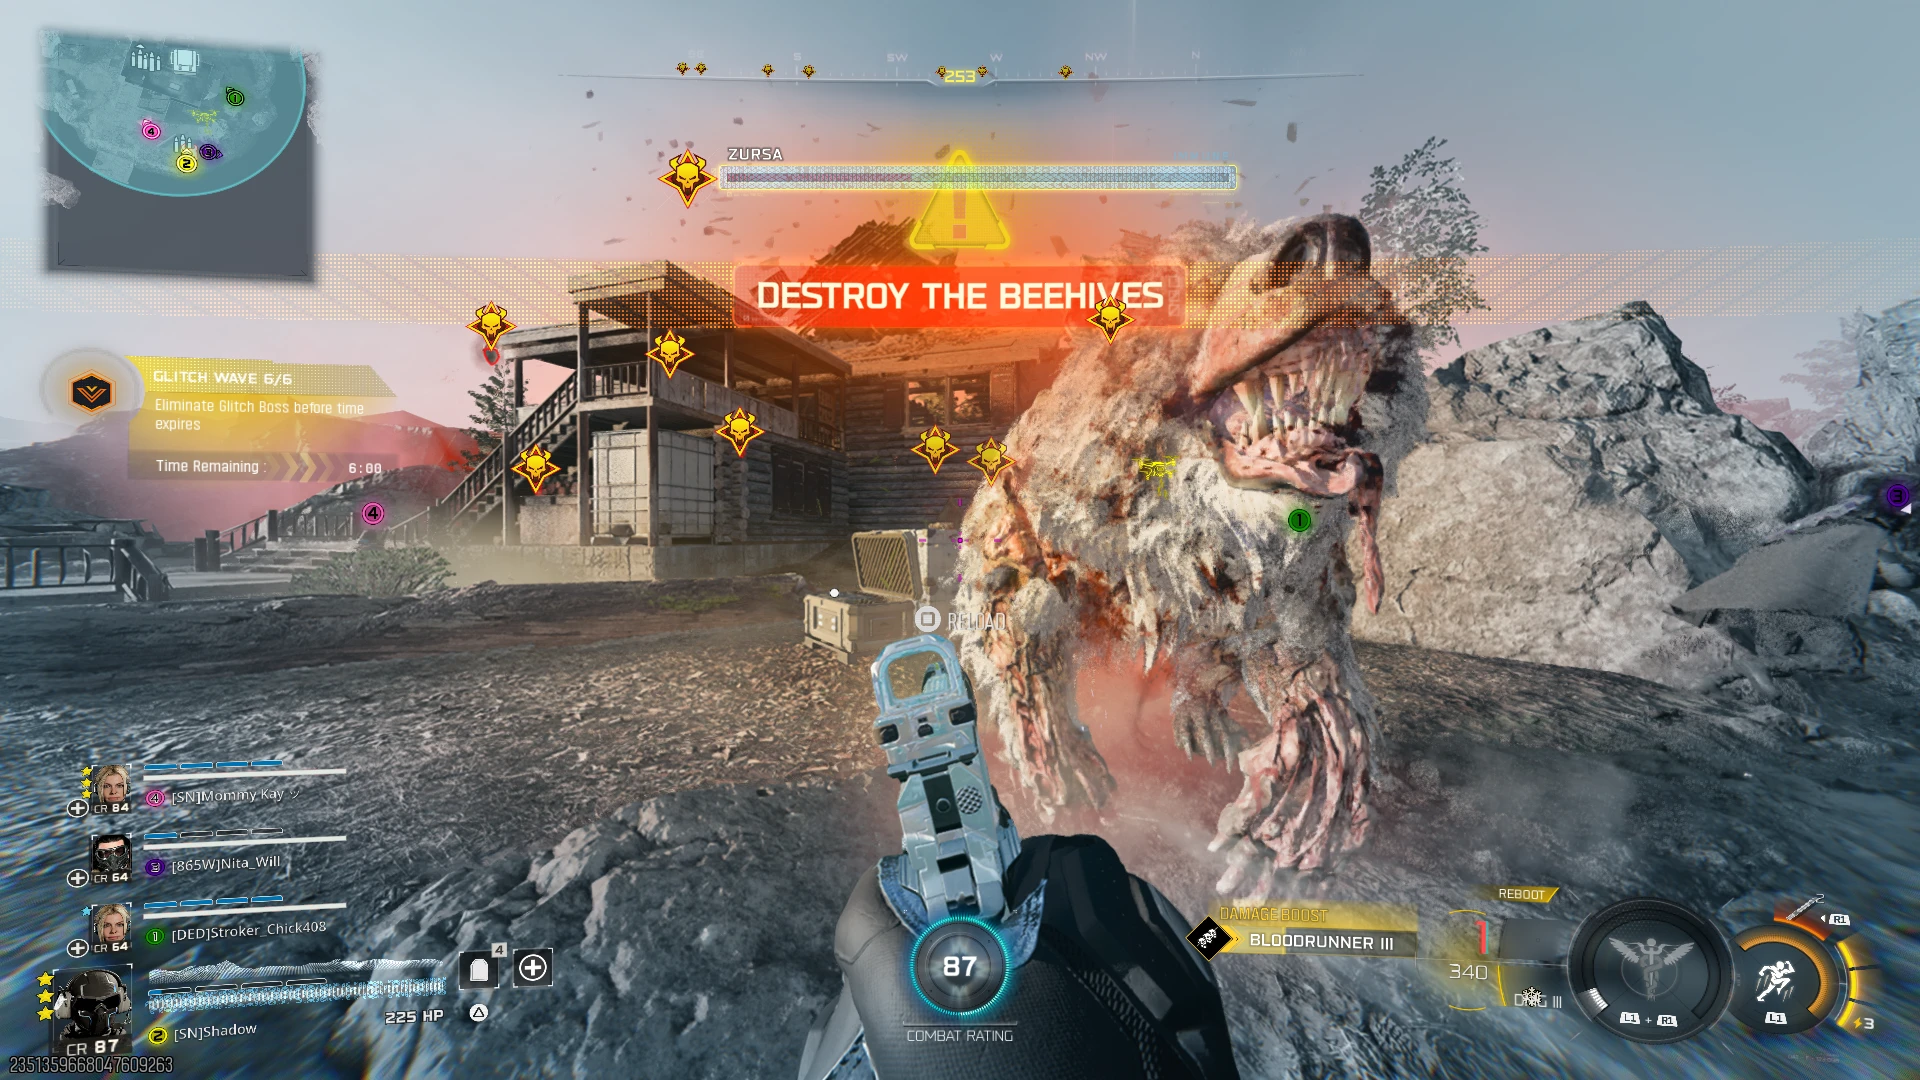
Wave 6: Zursa Boss
Section titled “Wave 6: Zursa Boss”The final wave is the Zursa boss fight. The Zursa spawns immediately as the Glitch Boss. At 50% health, beehives appear around the area and the Zursa becomes immune. Destroy all beehives to remove the immunity and continue damaging the boss. At 25% health, a second wave of beehives spawns with the same immunity mechanic.
The Zursa is a large, aggressive bear enemy that charges at players. It is the same enemy type encountered during the Possessed Convoy Guild Strike, but with increased health inside the Fracture.
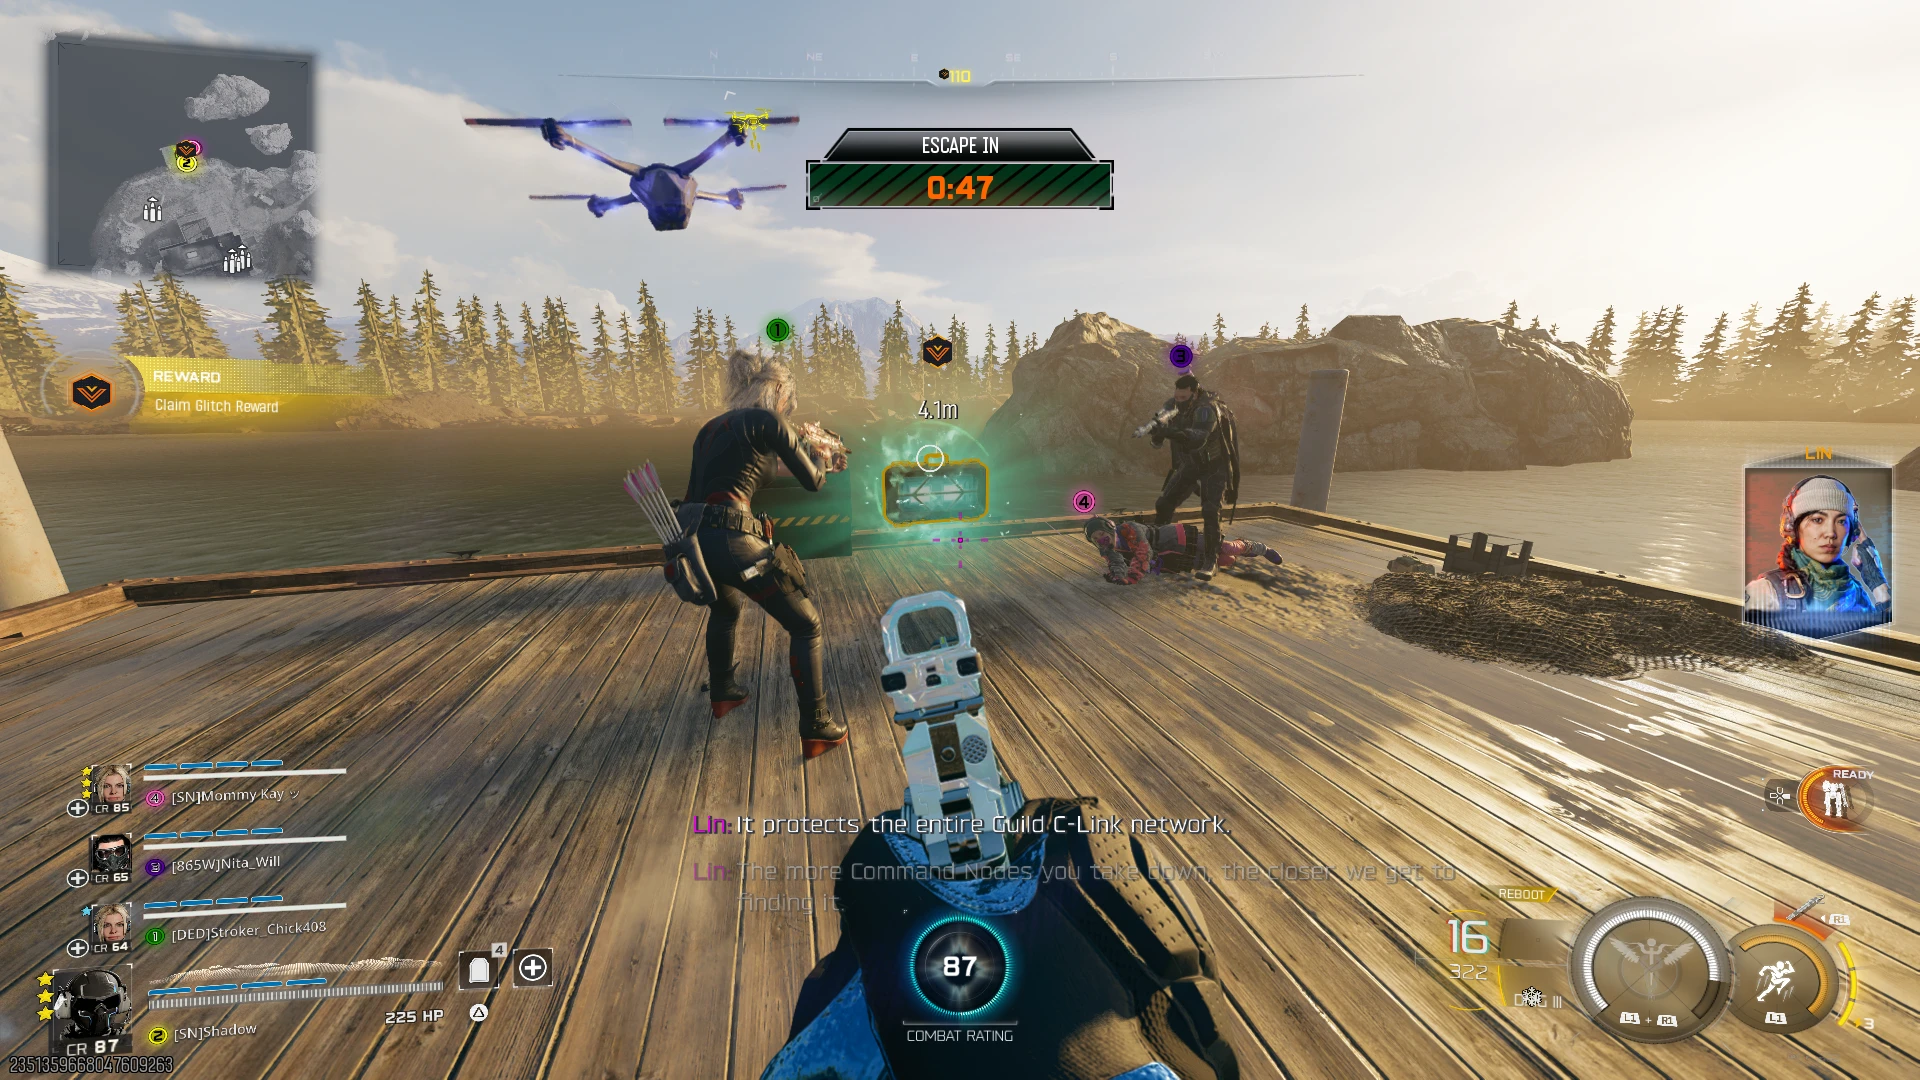
Extraction
Section titled “Extraction”After defeating the Zursa, an extraction timer starts. Reach the extraction point (a dock) before the timer runs out to complete the mission.
Recommended loadout
Section titled “Recommended loadout”- Grappling Hook ability for mobility during wave phases
- War Machine or similar high-damage equipment for burst damage on the Zursa
- Crash Cart is useful in squads for quick revives
Rewards
Section titled “Rewards”Completing the Command Killer awards 1 Nightmare Skill point.
Related pages
Section titled “Related pages”Data sourced from community research and in-game documentation. Information may change with game updates.